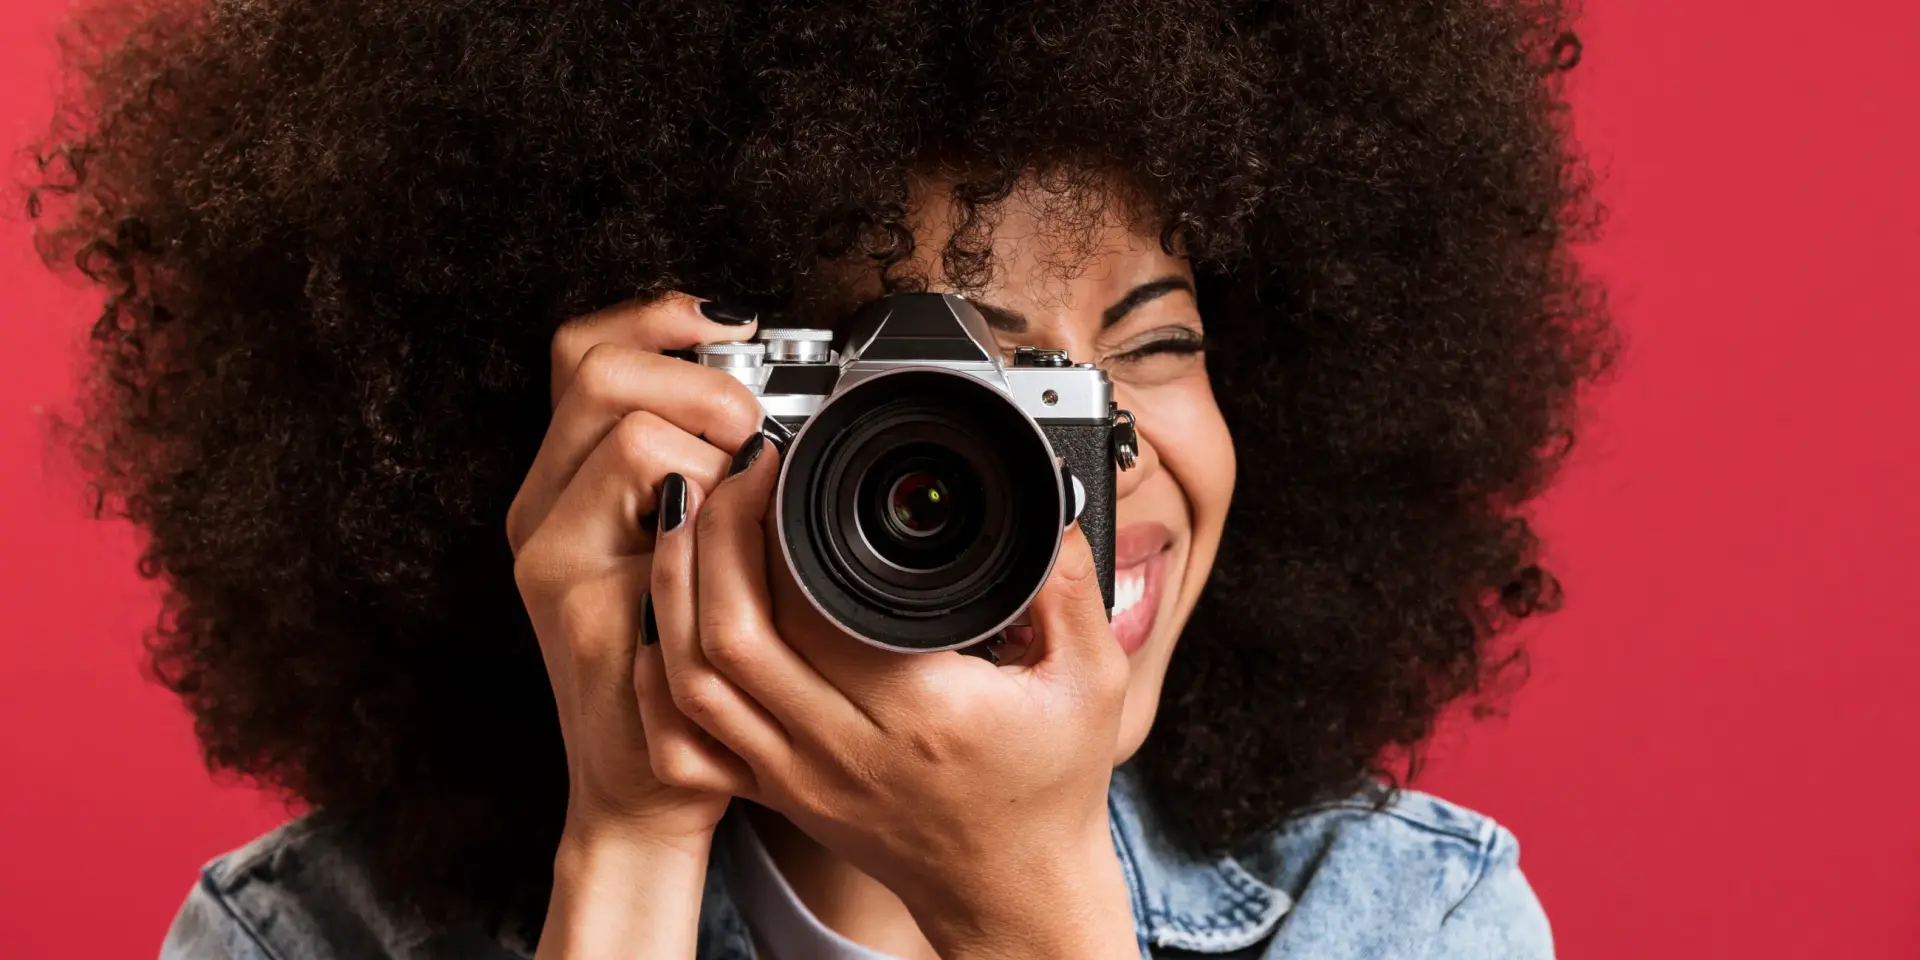
Photography is derived from a Greek word that means “drawing with light”. So we can define photography as the process of making images with light on a sensitive surface such as on an optical or film.
Indeed, Light in photography plays an important role. It was assumed that the best photography occurs during the “ magic hour” which means before and after sunrise and sunset. However, if you understand how light works, you can create stunning images at any time of day, even at noon!
Remember that during a photograph, the most important thing is to focus on light rather than the subject only. This is because every photograph you take reflects light from the subject. So if you understand that mechanism, you will be able to create amazing results.
Why Is Light So Important in Photography?
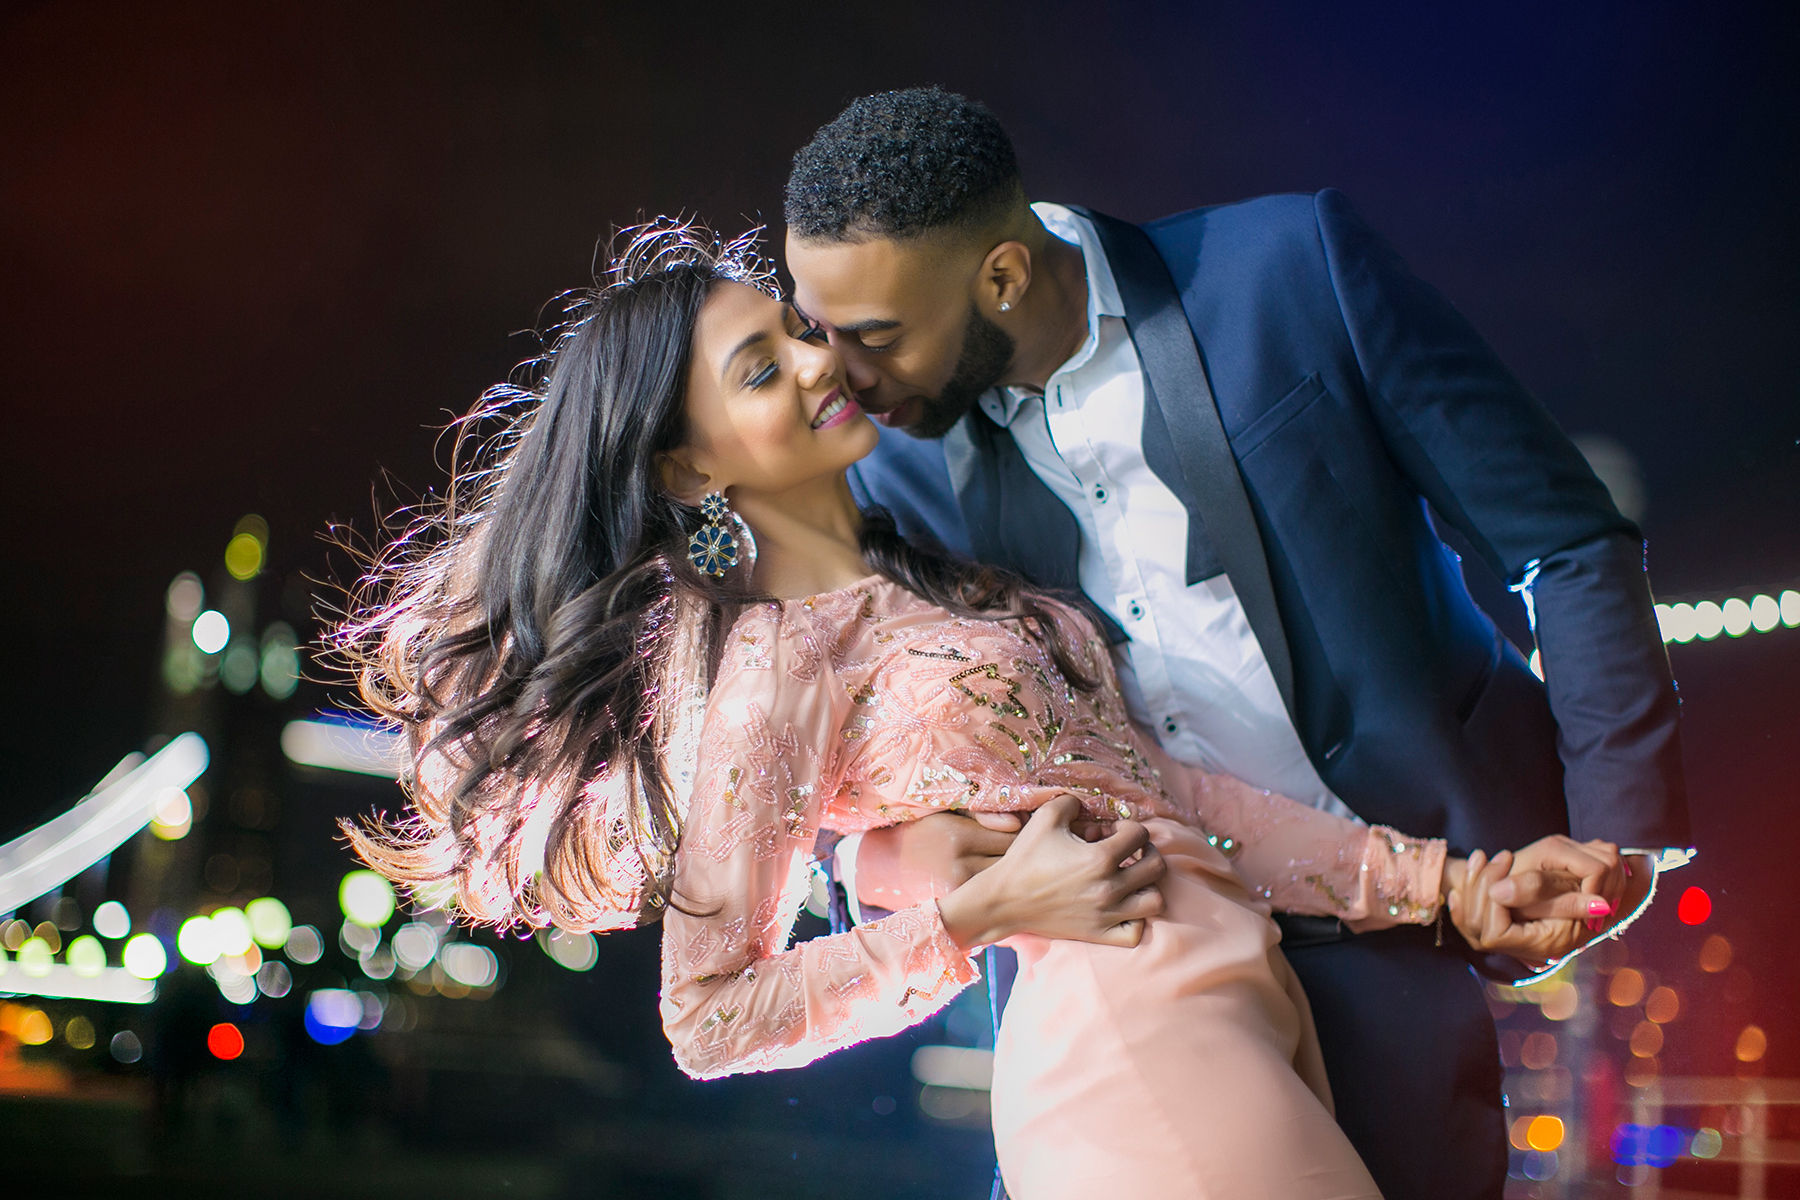
The proper use of light in photography can tell an emotional story through your photos.
It is important to know, how to work with natural light that changes throughout the day. From sunrise to sunset, each type of light creates a different look. So, if a photographer understands the proper lighting techniques, They can create a photo which tells a tantalizing story. Similarly, they should understand the right use of artificial lights such as flash or studio lights.
Moreover, Light in photography impacts the brightness, contrast, and mood of your images. It’s the “paint” that shapes how a scene is captured. In short, after knowing how to control different types of light you can get the result you want.
Different Types of lighting used in photography
There are two main lighting types:
Natural Light
As we all know, natural light happens without human influence and changes throughout the day. Sometimes it is bright sunlight at midday which is direct and strong, while during sunrise or sunset, it is soft light that creates a warmer effect.
Artificial Light
On the other hand, artificial light can move and adjust according to the requirement and situation. You can reposition them concerning your subject rather than natural light which might require repositioning the subject.
Types of Artificial Lighting in Photography
You can create stunning and unique photographs by understanding the different types and techniques of artificial lights.
Front Light (or Flat Light):
The front light comes straight in front of the subject. So, there are no deep shadows. It is perfect for symmetrical pictures, like a face. However, everything looks even and balanced.
Backlight:
It comes from behind the subject which creates dark shapes against the light. The subject might lose some detail, but using a diffuser like a soft cloth can help bounce light back onto the subject to show more detail.
Soft Light:
The light is spread out or diffused. It makes the shadows soft and less intense. It’s gentle and even used for portraits to create a calm and smooth look. For example: On cloudy days, the sky naturally creates this effect.
Hard Light:
This is bright, direct light that creates sharp shadows and high contrast, making parts of the subject very bright and other parts very dark. It’s often seen on sunny days or in a studio with strong lights.
Rim Light:
Rim light comes from behind or above the subject which creates a glowing outline around them. It separates the subject from the background and makes them stand out.
Loop Lighting:
A soft light placed slightly above and to the side of the subject, creates a small shadow on the cheek, which looks flattering for portraits. The light’s position can change to make the shadows stronger or softer.
Broad Lighting:
The side of the subject facing the camera is lit up, making the subject look fuller or larger. It’s good for things like graduation photos.
Short Lighting:
The side of the subject that’s facing away from the camera is lit, creating shadows on the nearer side. This makes the subject look slimmer, which can be useful depending on the look you want.
Butterfly Lighting:
The light is placed in front and above the subject, creating a butterfly-shaped shadow under the nose. It’s often used for glamorous close-up photos, like portraits.
Split Lighting:
The light comes from the side, splitting the subject’s face or body in half—one side in light and the other in shadow. It creates a dramatic, high-contrast effect.
Rembrandt Lighting:
This is a classic style where a triangle of light appears on the subject’s cheek, with the rest of their face in shadow. It gives a 3D feel to a 2D photo and is often used for artistic portraits.
How to Adjust the Light for Better Photography?
If you want better lighting in pictures, it is important to adjust your white balance. You should adjust it to match the colour temperature of your light source. It will help you to add desired colours in your photos that appear accurate and true to life.
Meanwhile, you should also consider the direction of your light because It works well for portraits and adds depth and texture to your subject. However, the right direction of lights is ideal for creating an artistic look. In short, it depends on the way you use lighting in photography can add emotions to give your photos a unique, striking look.
Tips for Better Photography
Learning about “lights in photography” may take some time, but once you understand it, your photos will see a dramatic improvement. Here are some key tips to help you along the way:
- Lighting plays a crucial role in your shots. You should use it to highlight your subject.
- Try using the rule of thirds. It can balance your composition by placing the subject off-centre.
- A dirty lens can lead to blurry photos. So, make sure to keep your lens clean.
- Adjust your aperture settings to control focus. That way, you will get the depth of field you want.
- Shoot in RAW format whenever possible. It gives you more flexibility when editing.
- You should experiment with different angles. Changing your viewpoint can add creativity to your photos.
- Moreover, consider using a tripod. It will help stabilize your camera and prevent blurry shots.
- It is important to pay attention to your background. Removing distractions will keep the focus on your subject.
- Take your time. Patience often leads to better, more thoughtful photos.
- Don’t be afraid to use manual settings. They give you full control to create the perfect shot.
Conclusion:
As a photographer, you need to know how to use light to capture the photo you want, whether you shoot at sunrise with a reflector or experiment with studio lighting. Light forms the foundation of photography and mastering it unlocks your full potential.
People Also Asked
What is the best lighting for photography?
There is no single “best” lighting for photography. The ideal lighting depends on your subject, the mood you want to convey, and the effect you’re aiming for. S
How can I control the lighting on my photos?
You can control lighting in photography through reflectors, diffusers, and using flash or other artificial lights.
What is the difference between hard and soft light in photography?
Hard light creates intense shadows and high contrast. It is often used for dramatic effect. Soft light is diffused and gentle. However, it creates subtle shadows and even exposure which is great for portraits and calming scenes.
When should I shoot with backlighting?
Backlighting is ideal for creating silhouettes, highlighting contours, or achieving a dreamy, ethereal effect. It works best when the light source is positioned behind the subject.
Can I use artificial light to improve my photos?
Yes! Artificial lighting in photography, such as studio lights or flashes, can be used to enhance natural light or create specific lighting effects. It gives you more control over your environment, especially in low-light conditions.